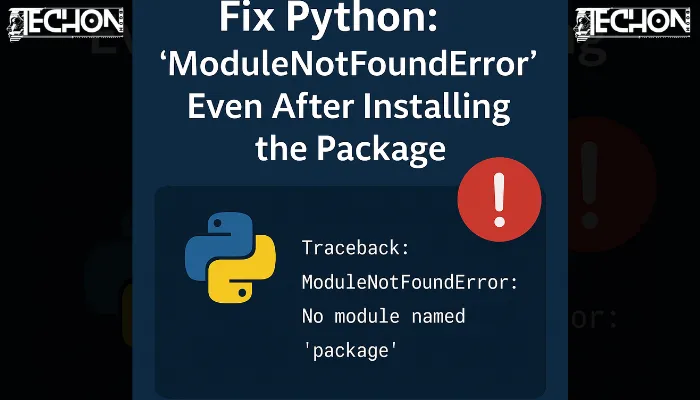
If you are still seeing a ModuleNotFoundError in Python even after installing the package, don’t worry — you are not alone, and the fix is usually simple.
This error almost always happens because Python is looking in the wrong place — meaning you installed the package in one environment, but you are accidentally running your code in another. To fix it, make sure you’re using the same Python environment for both installing and running your code, and double-check that you’re using the correct interpreter (especially if you are working in an IDE like VS Code, PyCharm, or Jupyter Notebook). One small mismatch can lead to hours of confusion, but once you align them, it usually just works.
Why This Happens: A Quick Explanation
You have installed the package using pip install, and Python still says “ModuleNotFoundError”? Frustrating, right?
Here’s what is going on: Python has multiple environments and versions, especially if you use tools like virtualenv, conda, or if you are on Windows with both Python 2.x and 3.x installed. Sometimes, you are unknowingly installing a package in one version of Python and then running your script with another version that does not have that package. So Python simply says, “I don’t know what you are talking about!”
Step-by-Step Guide to Fix ModuleNotFoundError After Installing a Package
1. Check if the Package is Actually Installed in the Right Environment:
Run this in your terminal:
pip show <package-name>Replace <package-name> with the name of the module is causing the error. If it returns nothing, it means it’s not installed in the current environment.
You can also list all installed packages:
pip listIf you don’t see your package here, that’s your issue.
2. Ensure You are Using the Correct Python and Pip Version:
Run these commands to check which pip and Python you are using:
which python
which pip
On Windows, use:
where python
where pip
If pip and python point to different environments, you’ll need to align them.
3. Use python -m pip to Be Safe:
Instead of just pip install, use:
python -m pip install <package-name>This ensures that the package is installed in the exact Python environment that runs your script. More info: Using Python -m pip
4. If a virtual environment is being used, make sure to activate it initially:
If you are using venv, activate it before running or installing anything.
On macOS/Linux:
source venv/bin/activateOn Windows:
venv\Scripts\activateThen install your package:
python -m pip install <package-name>5. Check Your IDE’s Python Interpreter (VS Code, PyCharm, etc.):
Sometimes, your IDE is pointing to a different Python interpreter than your terminal.
In VS Code:
- Press
Ctrl+Shift+P - Select
Python: Select Interpreter - Choose the interpreter where the package is installed.
In PyCharm:
- Open Settings, go to the Project section, and click on Python Interpreter.
- Check if the correct environment is selected.
6. Check for Typos or Wrong Import Name:
In some cases, the module and package names are not identical. For example:
You install it using:
pip install python-dateutilBut you import it like:
import dateutilSo, make sure you are using the correct import name. You can often find this on the package’s PyPI page.
7. Reinstall the Package Just in Case:
Sometimes the installation goes wrong or is corrupted. Try reinstalling:
pip uninstall <package-name>
pip install <package-name>
8. For Jupyter Notebook Users:
If you are using Jupyter Notebook, make sure you are installing packages in the same kernel environment:
import sys
!{sys.executable} -m pip install <package-name>
This ensures it installs in the Jupyter kernel you are using. Helpful resource: Jupyter Kernel and Environment Management
Final Tips, Warnings, and Notes
1. Always use virtual environments for every project
- Virtual environments keep your project’s dependencies isolated.
- Prevents conflicts between packages used in different projects.
- Use this to create one:
python -m venv myenvThen activate it:
- macOS/Linux:
source myenv/bin/activate - Windows:
myenv\Scripts\activate
2. Check your IDE’s Python interpreter
- Sometimes your terminal and IDE (VS Code, PyCharm, etc.) use different Python versions.
- Make sure your script is running under the interpreter where the package is installed.
- In VS Code, use
Ctrl + Shift + P> “Python: Select Interpreter”.
3. Don’t mix pip and conda in the same environment
- If you are using Anaconda or Miniconda, prefer using
conda install. - Mixing pip and conda can break environments or lead to hidden errors.
4. Create a fresh virtual environment when stuck
- If errors persist despite reinstalling, just start fresh:
python -m venv clean_env
source clean_env/bin/activate
pip install your-packages- It is often faster than deep debugging and guarantees a clean slate.
5. Restart after installing new packages
- Some environments (like Jupyter or VS Code) do not auto-refresh after a new installation.
- Restart your IDE or Jupyter kernel to make the new package available.
6. Reinstall packages when things break
- Sometimes, installations get corrupted or interrupted.
- A clean reinstall usually fixes the issue:
pip uninstall <package-name>
pip install <package-name>
Summary
If you have installed a Python package but still see a ModuleNotFoundError, the root cause is often environment mismatch. By aligning your pip and python commands, checking your IDE interpreter, and ensuring proper virtual environment usage, you can fix this quickly. Always be mindful of how your tools and environments are set up — they are powerful, but only if used correctly.
If you found this helpful, you may also want to check out: Techonboom.